Table of Contents
1. Introduction: The Closet Chaos Conundrum
2. Planning Your Closet Organizer: Measuring and Assessing
* 2.1 Measuring Your Closet Space: Accuracy is Key
* 2.2 Assessing Your Belongings: The Great Inventory
* 2.3 Choosing a System: Shelves, Rods, Drawers, Oh My!
3. Choosing the Right Materials: Wood, Wire, or Plastic?
* 3.1 The Durability Debate: Wood vs. Wire vs. Plastic
* 3.2 Budget Considerations: Finding the Sweet Spot
4. Gathering Your Tools and Supplies: Equipping Your Workshop
5. Building Your Closet Organizer: A Step-by-Step Guide
* 5.1 Installing Shelves: Leveling and Securing
* 5.2 Hanging Rods: Choosing the Right Height
* 5.3 Adding Drawers: Smooth Slides and Sturdy Construction
* 5.4 Installing Additional Features: Shoe Racks, Tie Racks, etc.
6. Customizing Your Organizer: Making it Personal
7. Maximizing Space: Clever Storage Solutions
* 7.1 Vertical Space: Reaching New Heights
* 7.2 Hidden Storage: Utilizing Unexpected Areas
8. Maintaining Your Organized Closet: Tips and Tricks
9. Troubleshooting Common Issues: Fixing Those Wobbly Shelves
10. The Cost-Effectiveness of DIY vs. Pre-built Systems
11. Eco-Friendly Options: Sustainable Closet Organization
12. Safety First: Avoiding Common Mistakes
13. Inspiration and Ideas: Browsing Closet Organization Styles
14. Before & After: Showcase Your Success
15. Conclusion: A Tidy Closet, A Tidy Mind
FAQs
Building a Closet Organizer: A Step-by-Step Guide to Taming Your Wardrobe Chaos
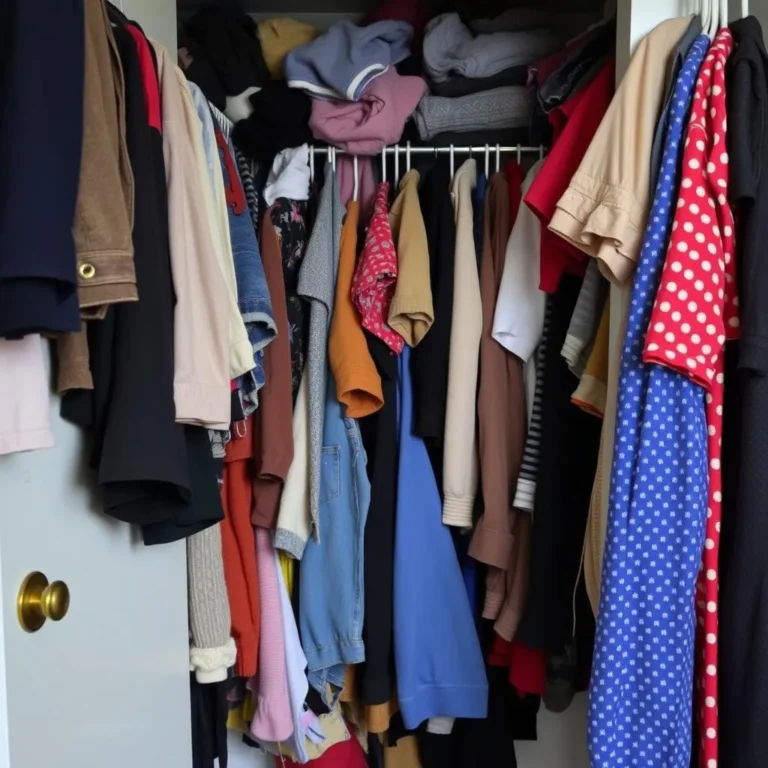
1. Introduction: The Closet Chaos Conundrum
Let’s face it: closets can be a breeding ground for chaos. Clothes overflow, shoes are scattered, and finding anything specific feels like a treasure hunt. But what if I told you that conquering your closet clutter isn’t just possible, but actually quite rewarding? Building your own closet organizer is a fantastic way to reclaim control of your wardrobe and transform a frustrating space into a haven of organization. This guide will walk you through the entire process, from initial planning to the final touches, empowering you to create the closet of your dreams. 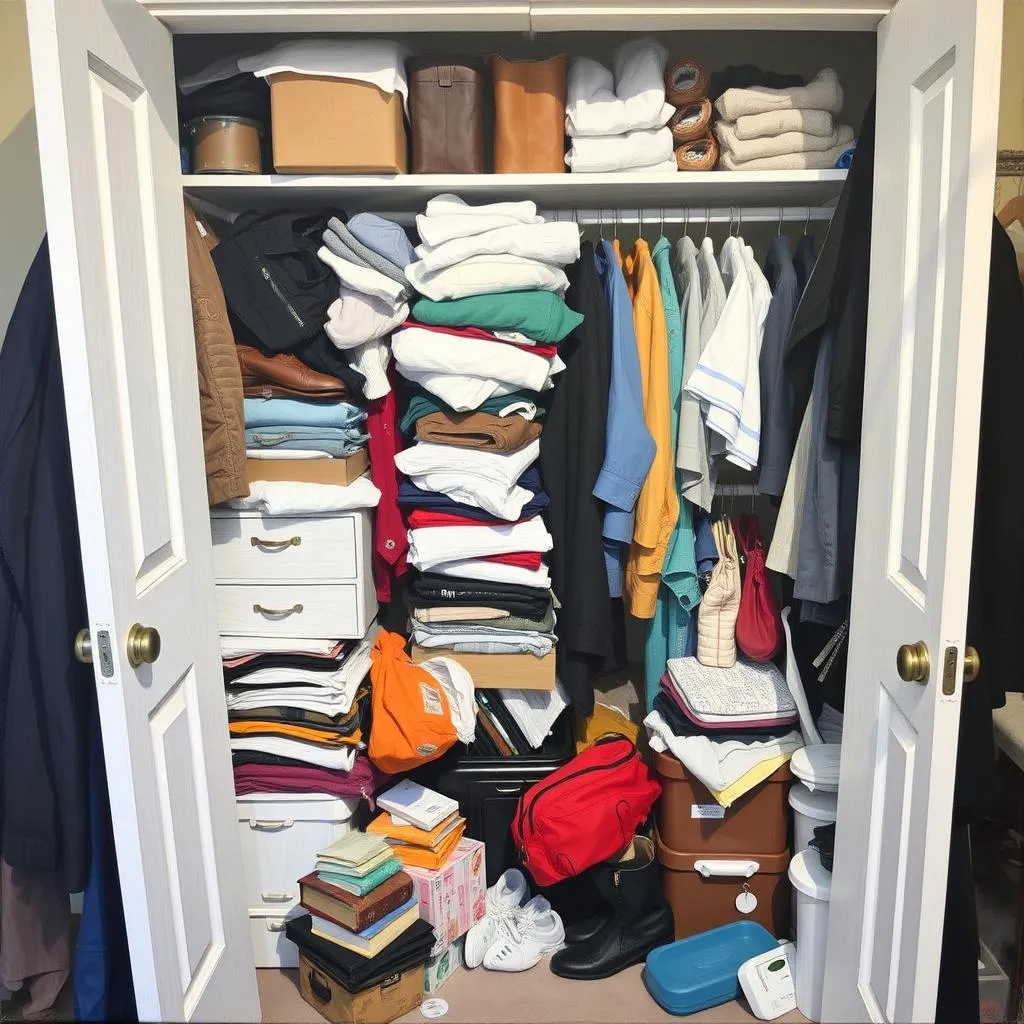
2. Planning Your Closet Organizer: Measuring and Assessing
Before even thinking about hammering a nail, you need a solid plan. This involves careful measuring and a brutally honest assessment of your belongings.
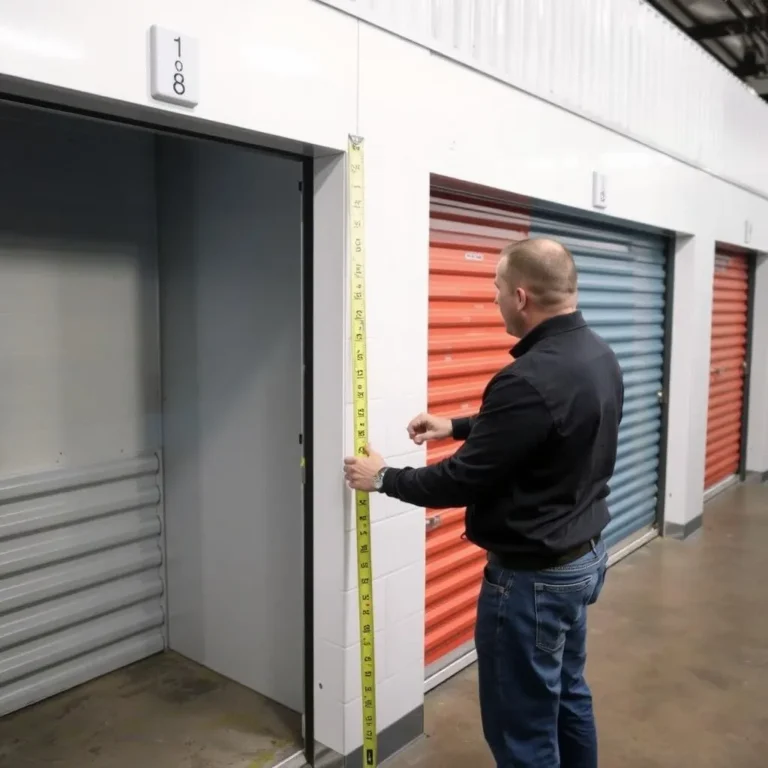
2.1 Measuring Your Closet Space: Accuracy is Key
Grab your measuring tape and get precise measurements of your closet’s width, depth, and height. Don’t forget to account for any existing features like doors or protruding elements. Accurate measurements are crucial for ensuring your organizer fits perfectly.
2.2 Assessing Your Belongings: The Great Inventory
Now comes the hard part: taking stock of your wardrobe. Pull everything out! This might seem daunting, but it’s essential to understand what you’re working with. Sort items into categories (shirts, pants, dresses, shoes, etc.) and consider how much space each category requires. This inventory will guide your design choices.
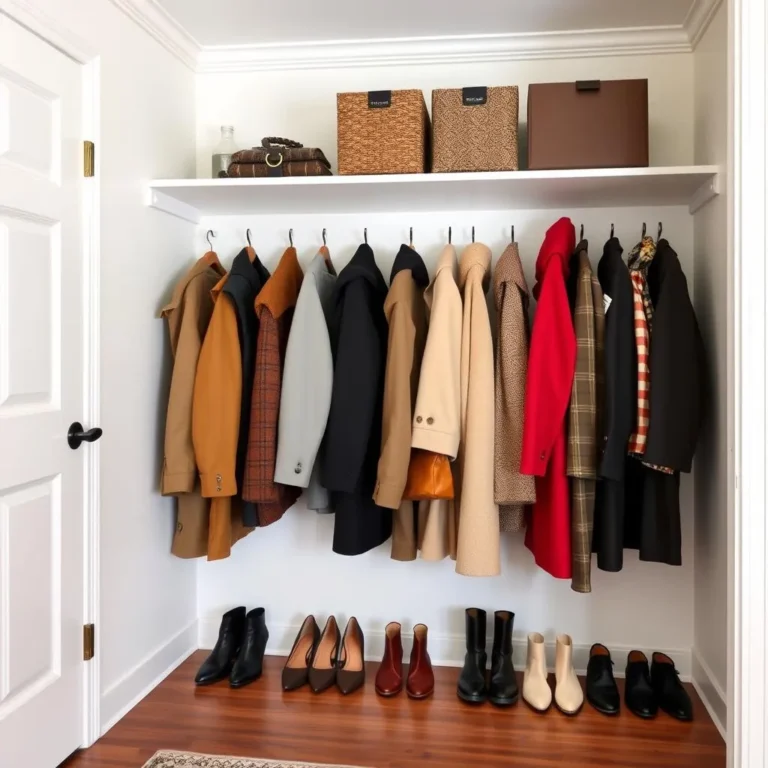
2.3 Choosing a System: Shelves, Rods, Drawers, Oh My!
With your measurements and inventory in hand, you can start brainstorming your organizational system. Will shelves be sufficient, or do you need rods for hanging clothes? Drawers are great for smaller items like folded shirts or underwear. Consider your lifestyle and clothing preferences when making these decisions. Maybe a combination of all three is your perfect solution!
3. Choosing the Right Materials: Wood, Wire, or Plastic?
The materials you choose will impact both the look and longevity of your organizer.
3.1 The Durability Debate: Wood vs. Wire vs. Plastic
Wood offers a classic, sturdy feel, while wire systems are often more affordable and lightweight. Plastic offers a balance between cost and durability. Each has its pros and cons; wood is more expensive but generally more robust, wire is cheaper but might not hold up as well over time, and plastic sits somewhere in between.
3.2 Budget Considerations: Finding the Sweet Spot
Setting a budget upfront helps you narrow your material choices and stay on track. Remember to factor in the cost of tools and additional accessories.
4. Gathering Your Tools and Supplies: Equipping Your Workshop
Once you’ve finalized your design and material choices, gather your tools and supplies. This might include a saw, drill, screwdriver, level, measuring tape, screws, brackets, shelves, rods, and any other components you’ve chosen for your organizer.
5. Building Your Closet Organizer: A Step-by-Step Guide
This is where the real fun begins! Remember to always prioritize safety when using power tools.
5.1 Installing Shelves: Leveling and Securing
Start by installing the shelves, ensuring they’re level and securely attached to the closet walls or supports using appropriate brackets and screws.
5.2 Hanging Rods: Choosing the Right Height
Next, install the hanging rods at a height that’s comfortable for you to reach. Consider different rod heights for longer and shorter items.
5.3 Adding Drawers: Smooth Slides and Sturdy Construction
If you’re incorporating drawers, ensure they slide smoothly and are sturdy enough to hold your belongings. Consider using drawer slides for a more refined finish.
5.4 Installing Additional Features: Shoe Racks, Tie Racks, etc.
Finally, install any additional features like shoe racks, tie racks, or accessory organizers to complete your customized system. 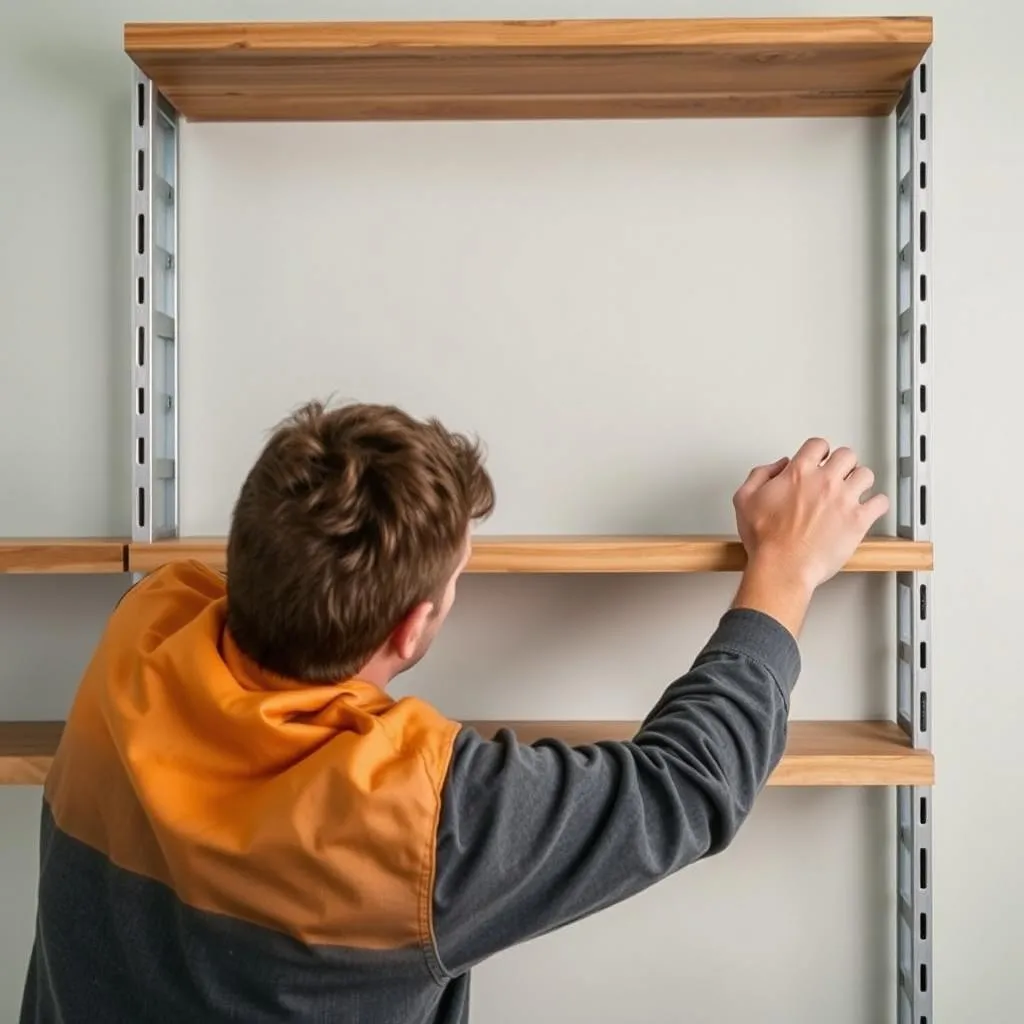
6. Customizing Your Organizer: Making it Personal
This is your chance to inject your personality into your closet organizer. Consider adding decorative elements like paint, wallpaper, or fabric coverings to match your existing décor.
7. Maximizing Space: Clever Storage Solutions
Don’t let any space go to waste!
7.1 Vertical Space: Reaching New Heights
Utilize vertical space by adding shelves high up or using stackable containers.
7.2 Hidden Storage: Utilizing Unexpected Areas
Think creatively! Could you add storage behind doors or under shelves?
8. Maintaining Your Organized Closet: Tips and Tricks
Once your organizer is built, maintaining its order is key. Regular decluttering and a system for putting things away immediately will help keep your closet tidy.
9. Troubleshooting Common Issues: Fixing Those Wobbly Shelves
If you encounter problems, don’t panic! Most issues are easily fixable. Tighten loose screws, re-level wobbly shelves, and don’t hesitate to seek advice online or from a handy friend.
10. The Cost-Effectiveness of DIY vs. Pre-built Systems
Building your own organizer can often be more cost-effective than buying a pre-built system, especially for larger closets.
11. Eco-Friendly Options: Sustainable Closet Organization
Consider using reclaimed wood or recycled materials to minimize your environmental impact.
12. Safety First: Avoiding Common Mistakes
Always prioritize safety when working with tools. Wear appropriate safety gear and take your time.
13. Inspiration and Ideas: Browsing Closet Organization Styles
Browse online resources for inspiration on different organizational styles and configurations. Pinterest and Instagram are great starting points. 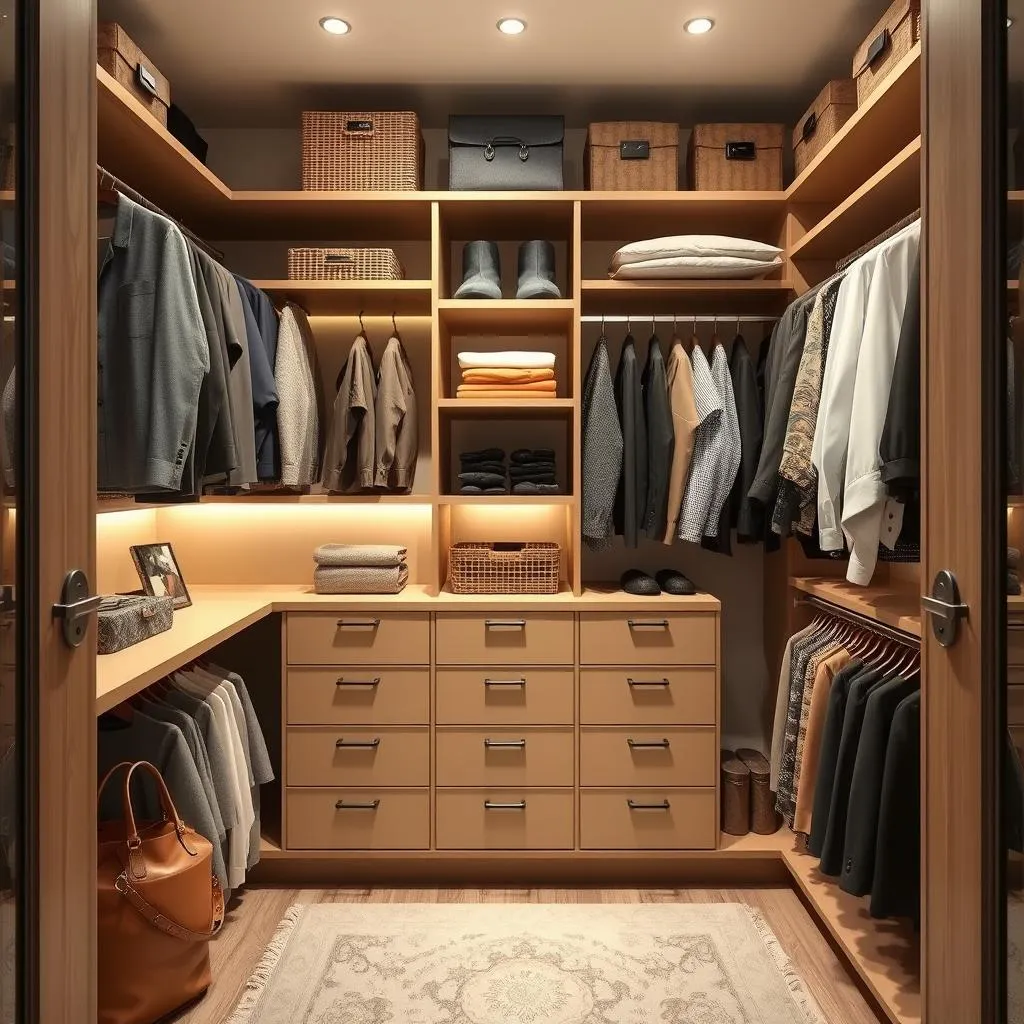
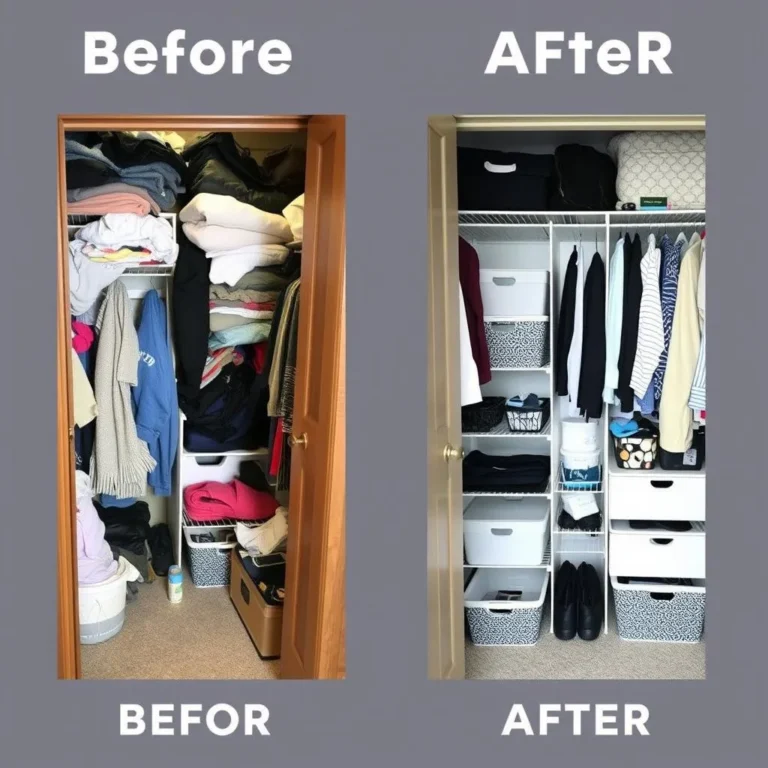
14. Before & After: Showcase Your Success
Take photos of your closet before and after to celebrate your hard work and share your success with others.
15. Conclusion: A Tidy Closet, A Tidy Mind
Building your own closet organizer is a rewarding project that can transform your life. With careful planning, the right materials, and a little elbow grease, you can create a beautifully organized space that makes getting dressed a joy, not a chore. So, roll up your sleeves and start building the closet of your dreams!
FAQs
-
What’s the best type of wood to use for a closet organizer? Pine and plywood are popular choices due to their affordability and ease of workability. However, hardwoods like oak or maple offer greater durability.
-
How do I deal with uneven closet walls? Use shims to level your shelves and brackets, ensuring they’re securely fastened.
-
Can I build a closet organizer without any prior experience? Absolutely! Start with a simple design and take your time. Plenty of online resources and tutorials can guide you.
-
How can I prevent my clothes from getting dusty in my new organizer? Regular dusting and using fabric covers for seasonal clothes can minimize dust accumulation.
-
What if I make a mistake during construction? Don’t worry! Minor mistakes are easily fixable. Just take your time and double-check your measurements and installations.