Article Outline: Building a Custom Closet
I. Introduction (H1)
- A. Why Custom Closets? (H2)
- B. The Benefits of DIY vs. Professional Installation (H2)
- C. This Article’s Scope (H2)
II. Planning Your Custom Closet (H1)
- A. Measuring Your Space (H2)
-
- Accuracy is Key (H3)
-
- Consider Door Swing (H3)
- B. Designing Your Closet (H2)
-
- Functionality First (H3)
-
- Style Considerations (H3)
- C. Choosing Materials (H2)
-
- Wood Types (H3)
-
- Hardware Options (H3)
III. Building Your Custom Closet (H1)
- A. Gathering Tools and Materials (H2)
- B. Constructing the Frame (H2)
- C. Installing Shelves and Drawers (H2)
- D. Adding Finishing Touches (H2)
IV. Professional Installation vs. DIY (H1)
- A. Cost Comparison (H2)
- B. Time Commitment (H2)
- C. Skill Level Required (H2)
V. Conclusion (H1)
VI. FAQs (H1)
Building Your Dream Closet: A Step-by-Step Guide
I. Introduction
Have you ever opened your closet and felt overwhelmed by the jumble of clothes and accessories? Do you dream of a space where everything has its place, organized and easily accessible? Then building a custom closet might be the perfect solution! Let’s explore the exciting world of custom closet design and construction.
A. Why Custom Closets?
Ready-made closets are often generic and fail to address individual needs. A custom closet, on the other hand, is designed specifically for your space and your style. Think of it as a tailored suit for your belongings – perfectly fitted and supremely functional. 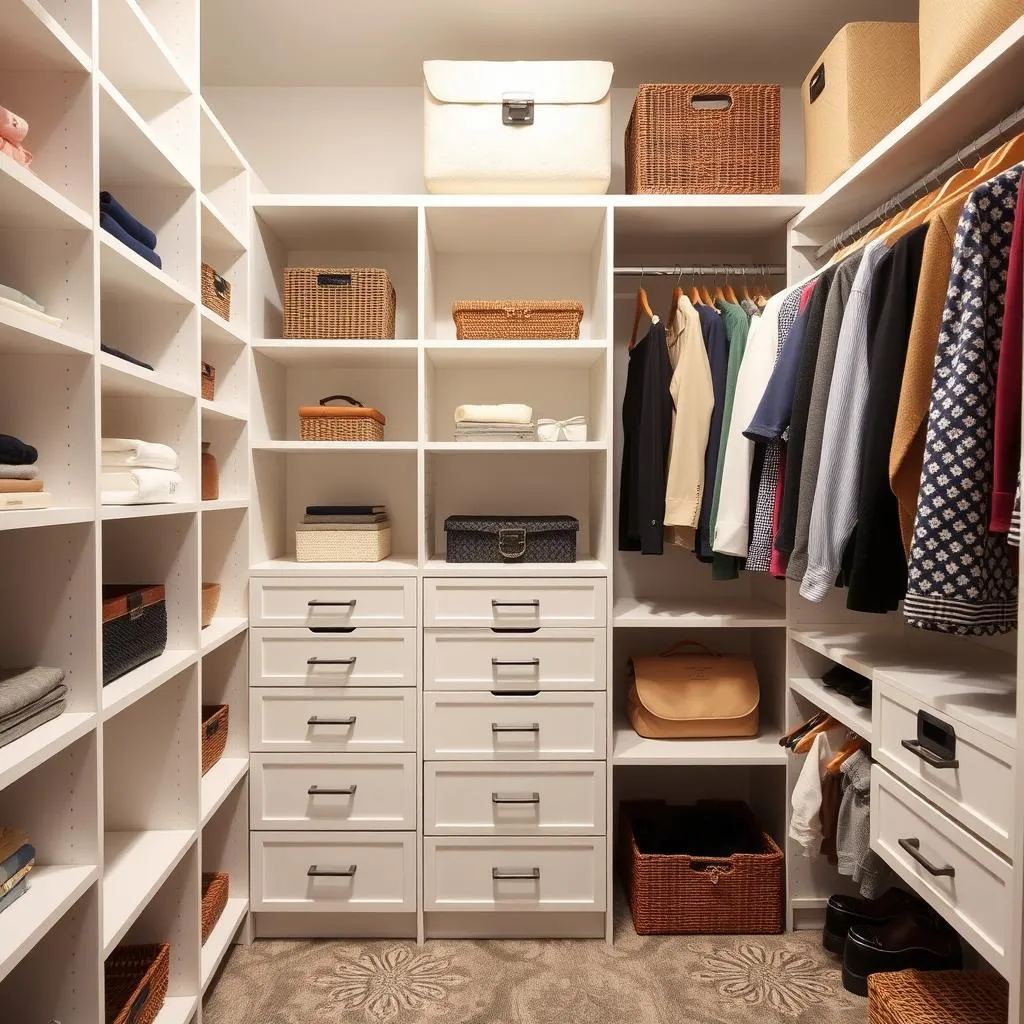
B. The Benefits of DIY vs. Professional Installation
The big question: DIY or hire a professional? DIY offers the satisfaction of creating something yourself and potentially saving money. However, it requires time, skill, and the right tools. Professional installation guarantees a flawless result, but comes with a higher price tag. We’ll weigh the pros and cons later in the article.
C. This Article’s Scope
This guide will provide a comprehensive overview of building a basic custom closet, from initial planning to the final touches. We’ll cover essential steps, helpful tips, and considerations to help you make informed decisions.
II. Planning Your Custom Closet
Before you even touch a hammer, meticulous planning is crucial. This stage lays the foundation for a successful project.
A. Measuring Your Space
Accurate measurements are non-negotiable. Every inch counts!
1. Accuracy is Key: Use a tape measure and record dimensions multiple times to ensure accuracy. Don’t forget to account for wall irregularities.
2. Consider Door Swing: If your closet has doors, factor in the swing space they’ll need. You don’t want your perfectly planned shelves blocked by a stubbornly swinging door! 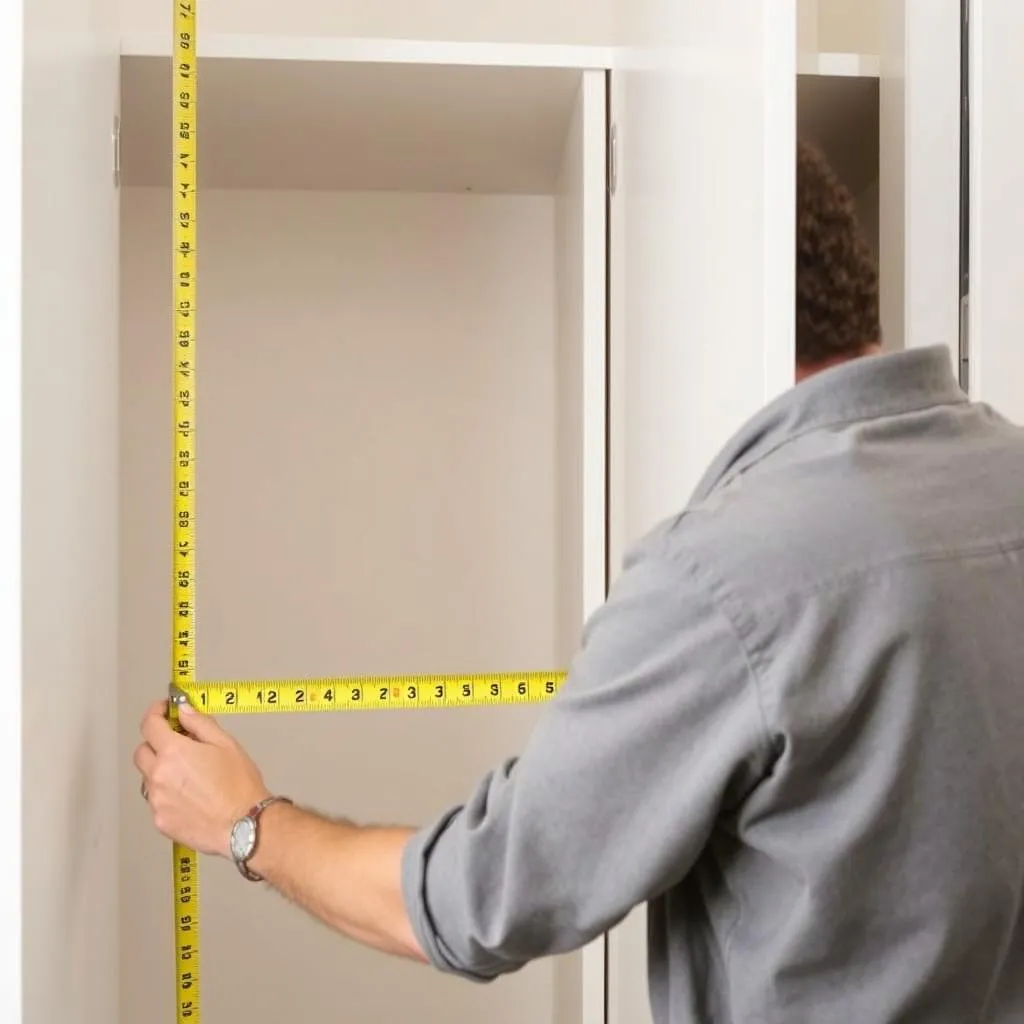
B. Designing Your Closet
Now for the fun part – designing the layout!
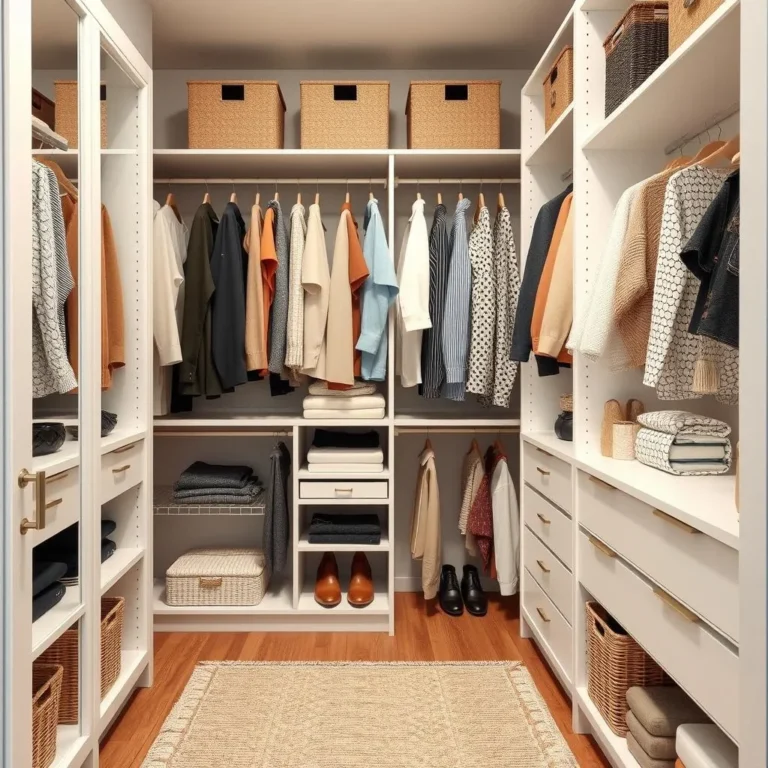
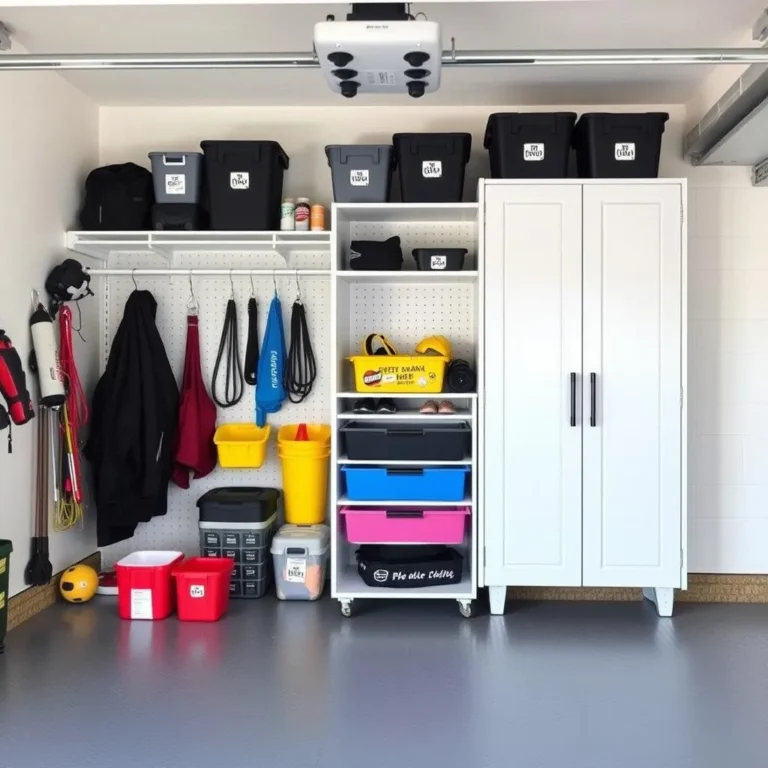
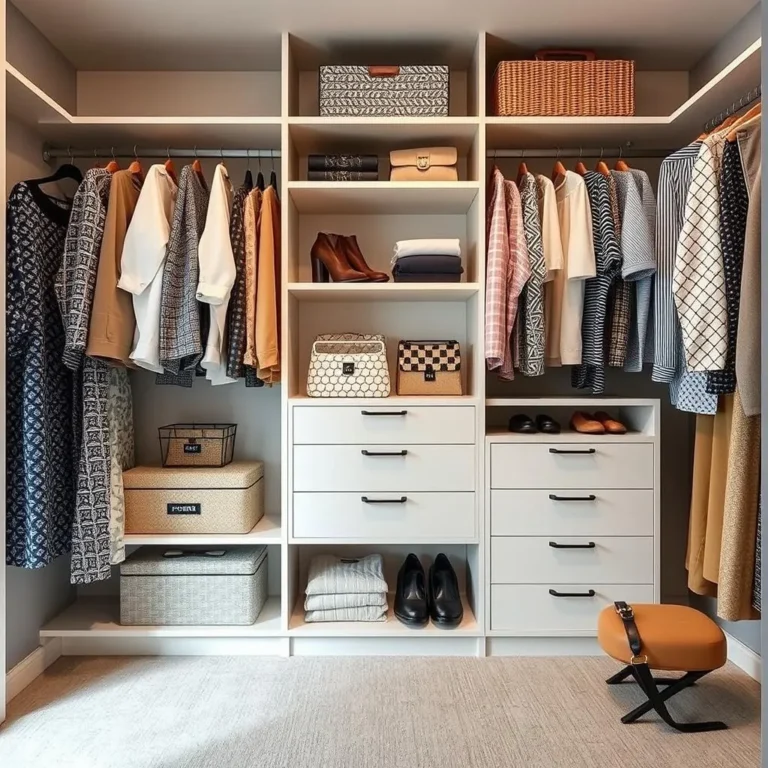
1. Functionality First: Consider how you use your closet. Do you need more hanging space, shelves, or drawers? Think about the types of clothing and accessories you store and design accordingly.
2. Style Considerations: While functionality is paramount, style matters too! Choose materials and hardware that complement your existing décor. Will it be sleek and modern, or rustic and charming? The possibilities are endless! 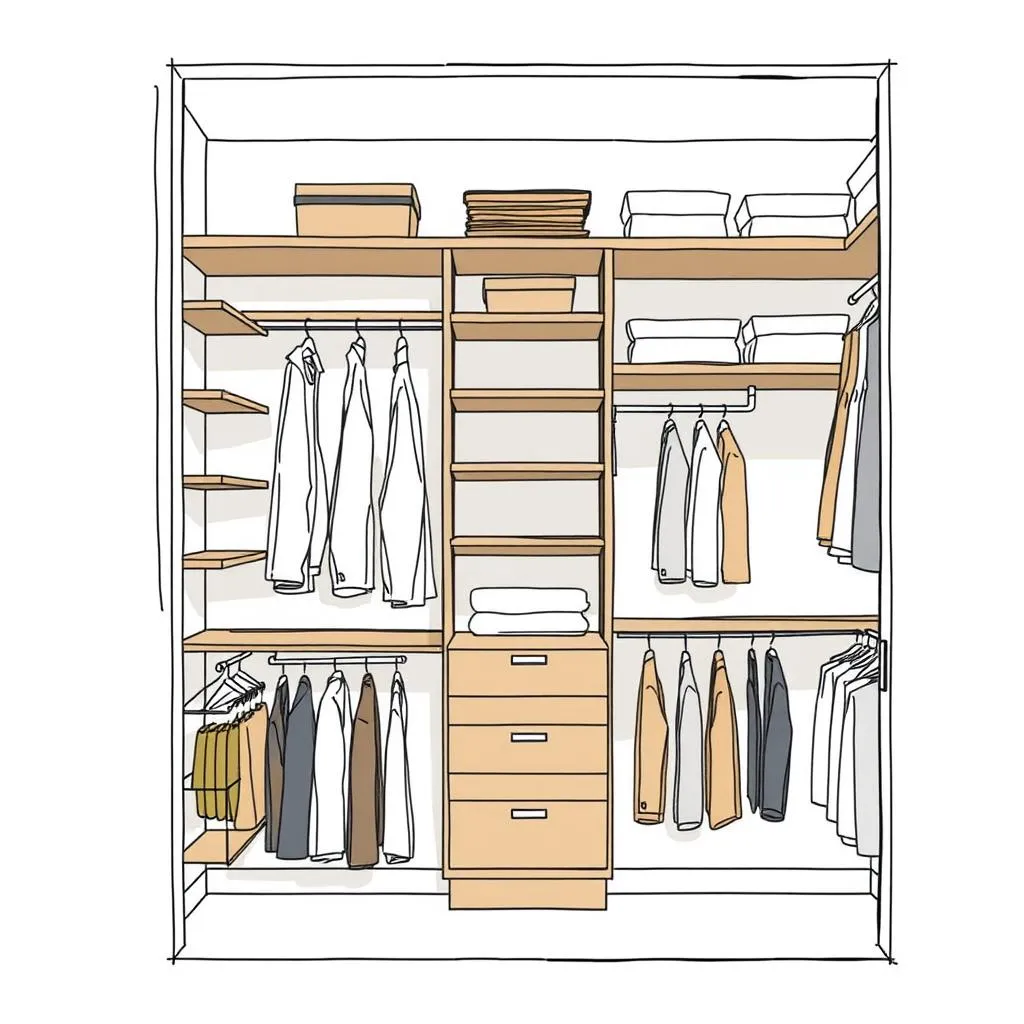
C. Choosing Materials
The choice of materials will significantly impact the look and durability of your closet.
1. Wood Types: From sturdy oak to elegant maple, wood offers a classic look and feel. Consider your budget and the desired aesthetic when choosing.
2. Hardware Options: Handles, knobs, and other hardware add the finishing touch. Choose options that are durable and complement your chosen style. Think about functionality too; easy-to-grip handles are a must!
III. Building Your Custom Closet
With the planning complete, it’s time to get your hands dirty!
A. Gathering Tools and Materials: Make a detailed list of everything you’ll need, including wood, screws, shelves, brackets, and tools like a saw, drill, level, and measuring tape.
B. Constructing the Frame: Begin by building the frame of your closet, ensuring it’s square and level. This is the backbone of your entire structure. Take your time and double-check measurements at every stage. 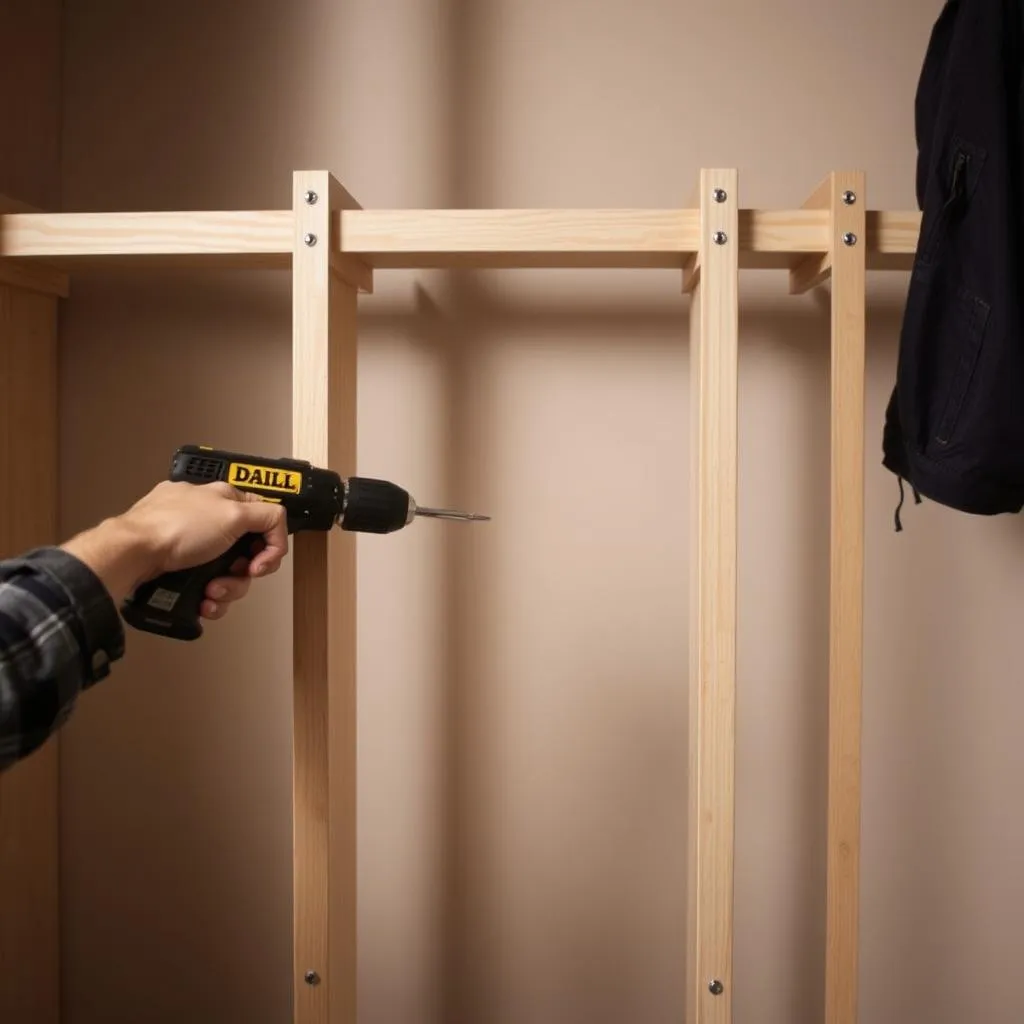
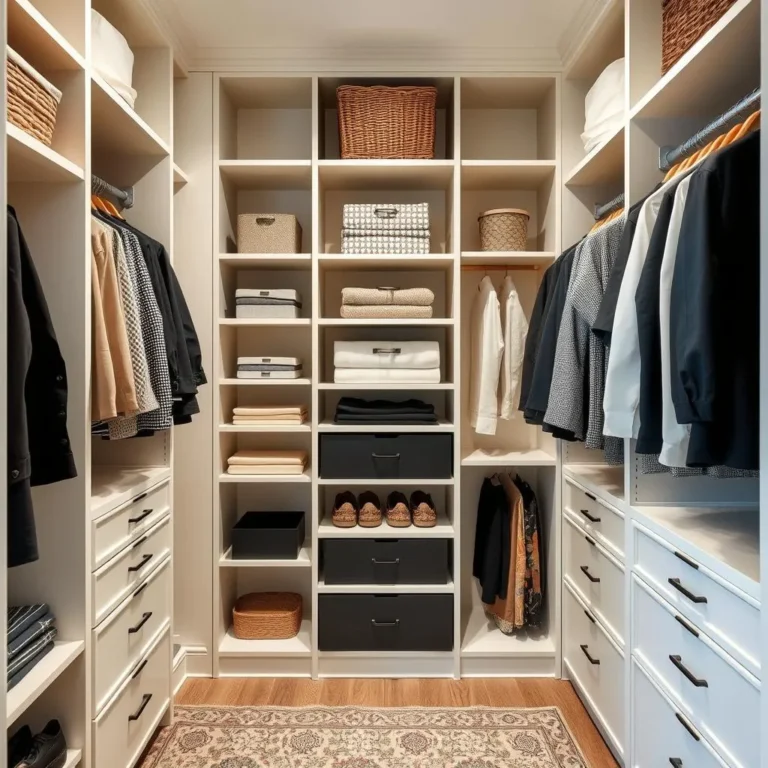
C. Installing Shelves and Drawers: Once the frame is secure, install shelves and drawers according to your design. Use appropriate supports to ensure stability.
D. Adding Finishing Touches: This is where the closet truly comes to life! Install hardware, add any decorative elements, and give the entire structure a final coat of paint or sealant. 
IV. Professional Installation vs. DIY
Let’s revisit that crucial question: DIY or professional?
A. Cost Comparison: DIY might seem cheaper initially, but unexpected costs can arise. Factor in the cost of materials, tools (if you don’t own them), and potential mistakes.
B. Time Commitment: A DIY project requires significant time and effort. Professionals can complete the job much faster.
C. Skill Level Required: Building a custom closet involves carpentry skills. If you lack experience, a professional is the safer option.
V. Conclusion
Building a custom closet is a rewarding project that transforms your bedroom and lifestyle. Whether you opt for DIY or professional installation, careful planning and attention to detail are key to success. Remember to enjoy the process – after all, you’re creating a space that reflects your personal style and enhances your life.
VI. FAQs
-
What’s the average cost of a custom closet? The cost varies widely depending on size, materials, and installation method. DIY can be significantly cheaper than professional installation.
-
How long does it take to build a custom closet? DIY projects can take anywhere from a weekend to several weeks, depending on the complexity. Professional installation typically takes a few days.
-
What tools do I need to build a custom closet? Essential tools include a tape measure, saw, drill, level, screwdriver, and possibly a sander.
-
Can I build a custom closet without prior carpentry experience? While possible, it’s challenging. Starting with a simpler design and plenty of research is recommended.
-
What are the best materials for a custom closet? Durable and aesthetically pleasing materials include various wood types, melamine, and particleboard. Consider factors like moisture resistance and longevity.