Table of Contents
1. Introduction: Why Build Your Own Closet Shelves?
2. Planning Your Closet Shelf System
2.1. Measuring Your Closet Space
2.2. Determining Shelf Needs and Placement
2.3. Choosing the Right Materials
3. Gathering Your Tools and Materials
3.1. Essential Tools for the Job
3.2. Selecting the Right Wood Type
3.3. Necessary Hardware and Fasteners
4. Cutting the Wood to Size
4.1. Accurate Measurements are Crucial
4.2. Using a Saw Safely and Effectively
4.3. Tips for Clean, Precise Cuts
5. Assembling the Shelf Supports
5.1. Building Robust Shelf Supports
5.2. Securing the Supports to the Closet Walls
5.3. Ensuring Level and Stability
6. Installing the Shelves
6.1. Precise Placement for Optimal Functionality
6.2. Attaching Shelves to Supports Securely
6.3. Checking for Level and Stability
7. Finishing Touches and Considerations
7.1. Sanding for a Smooth Finish
7.2. Applying a Protective Finish (Optional)
7.3. Adding Extra Features (Dividers, etc.)
8. Troubleshooting Common Issues
8.1. Dealing with Uneven Walls
8.2. Fixing Wobbly Shelves
9. Alternatives to Building Your Own
9.1. Pre-made Closet Systems
9.2. Professional Closet Installation
10. Cost Comparison: DIY vs. Professional
11. Safety First: Important Reminders
12. Maintaining Your New Closet Shelves
13. Expanding on Your Design: Creative Options
14. Beyond Storage: Utilizing Vertical Space
15. Conclusion: The Rewards of DIY Closet Organization
FAQs
Building Closet Shelves: A Step-by-Step DIY Guide
1. Introduction: Why Build Your Own Closet Shelves?
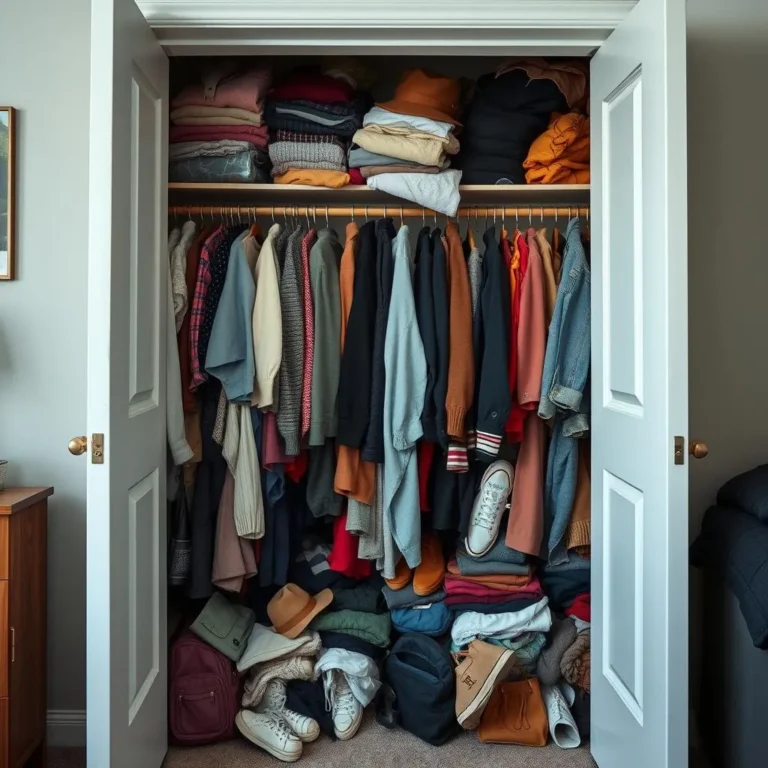
Let’s face it: closet organization can be a nightmare. Generic wire shelving often feels flimsy and fails to maximize space. But what if I told you you could create a custom closet system, perfectly tailored to your needs, without breaking the bank? Building your own closet shelves is a surprisingly manageable project that can transform your closet from chaotic mess to organized haven. It’s a rewarding DIY endeavor that offers incredible control over design, materials, and ultimately, the final result. 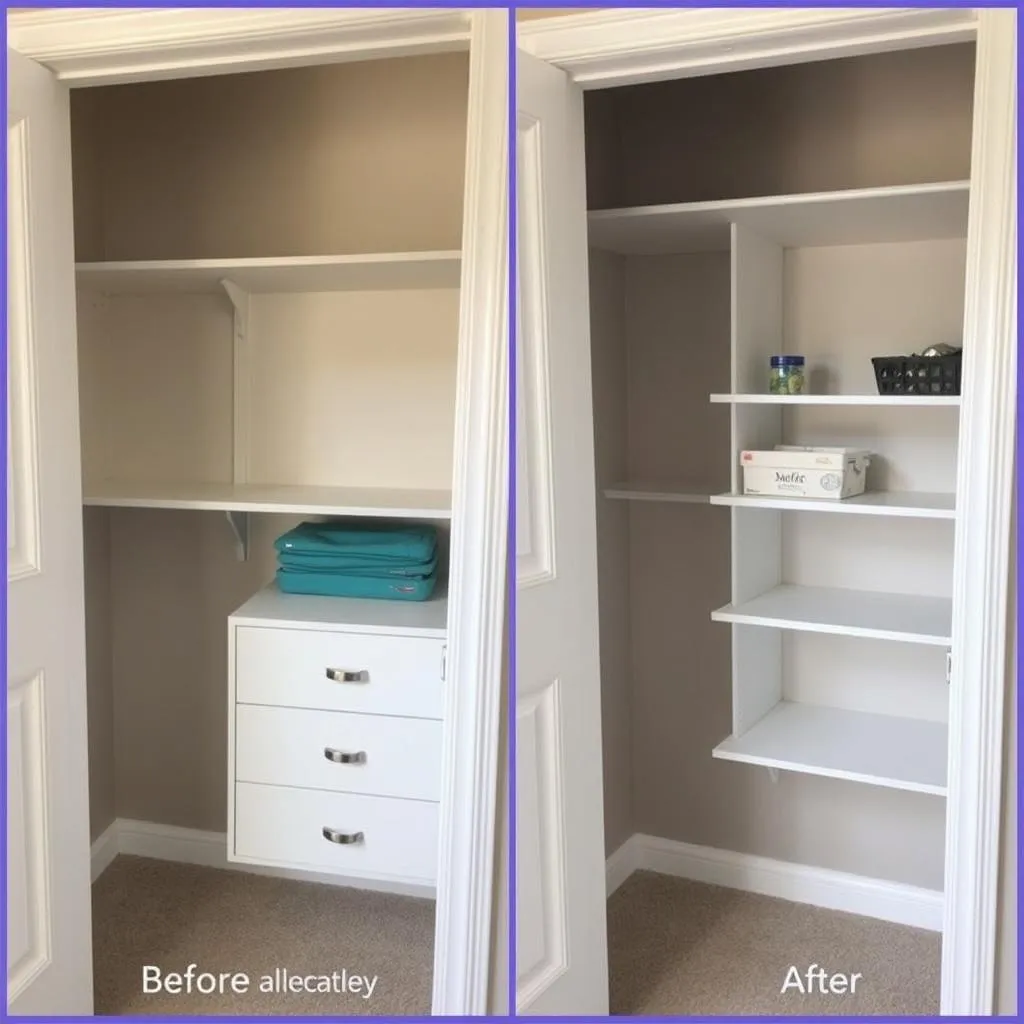
2. Planning Your Closet Shelf System
Before you grab a saw, careful planning is key. This is where you visualize your dream closet and translate it into a workable plan.
2.1. Measuring Your Closet Space
Grab your measuring tape and accurately record the dimensions of your closet—height, width, and depth. Don’t forget to note any obstructions like pipes or electrical outlets. Precise measurements are the foundation of a successful project.
2.2. Determining Shelf Needs and Placement
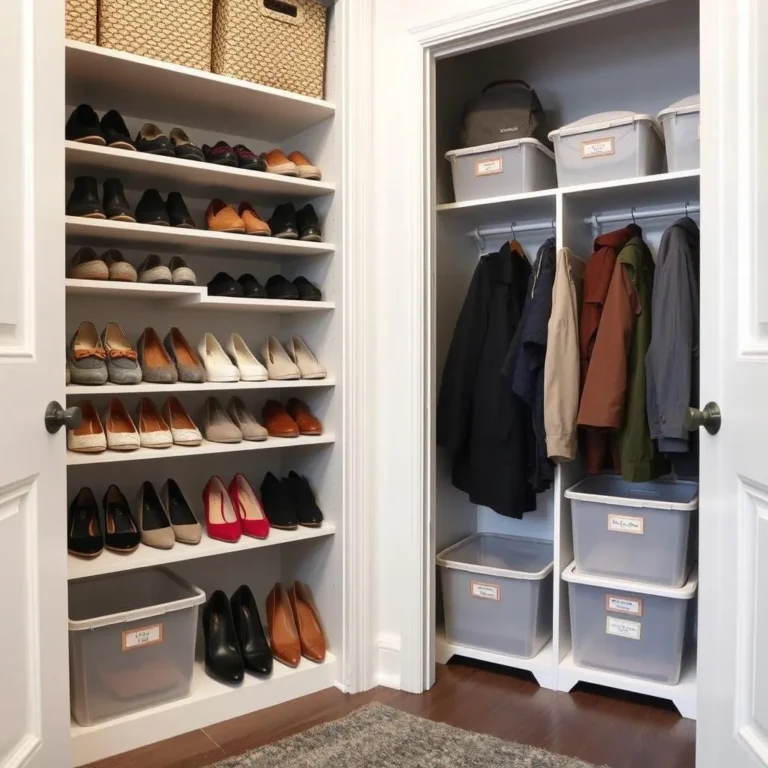
Consider what you’ll be storing. Do you need deep shelves for sweaters, or shallow ones for folded shirts? Think about the height of your items to determine optimal shelf spacing. Draw a simple sketch of your closet, including proposed shelf locations.
2.3. Choosing the Right Materials
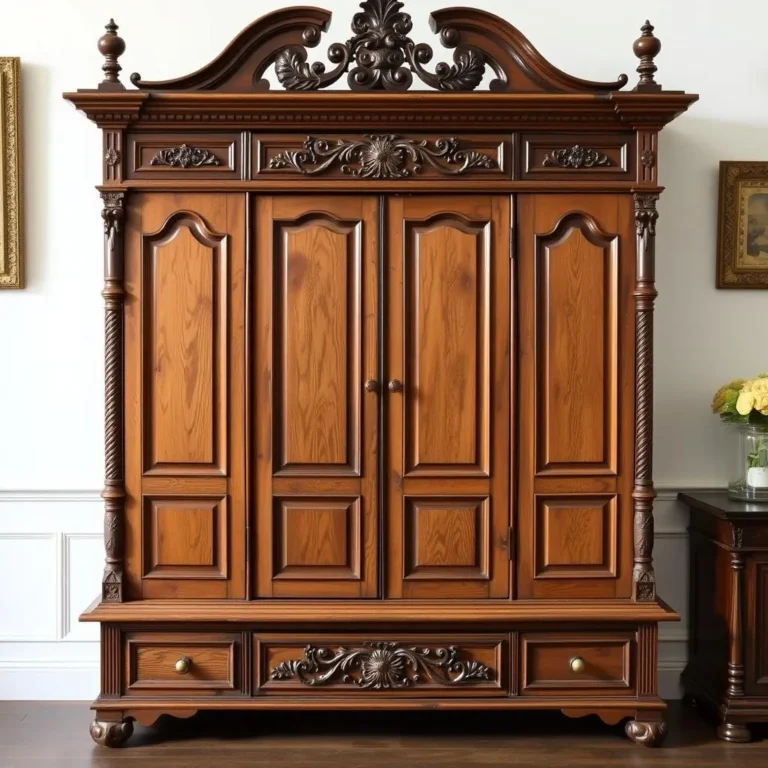
Selecting the right wood is crucial. MDF (medium-density fiberboard) is affordable and easy to work with, but less durable than solid wood. Solid wood like pine or oak is more expensive but stronger and more aesthetically pleasing. Consider the weight of the items you’ll be storing when making your decision.
3. Gathering Your Tools and Materials
With your plan in place, it’s time to gather your arsenal.
3.1. Essential Tools for the Job
You’ll need a measuring tape, level, pencil, saw (circular saw or hand saw), drill, screwdriver, safety glasses, and a stud finder. A clamp is helpful for securing wood during cutting.
3.2. Selecting the Right Wood Type
As mentioned earlier, consider the durability and budget implications of your wood choice. Pine is a popular choice for its affordability and workability.
3.3. Necessary Hardware and Fasteners
This includes shelf brackets (consider adjustable ones for flexibility), screws appropriate for the wall type (drywall anchors for hollow walls), and wood glue (for added strength and stability).
4. Cutting the Wood to Size
Precision is paramount here. Inaccurate cuts will lead to problems later.
4.1. Accurate Measurements are Crucial
Double and triple-check your measurements before making any cuts. A simple mistake can ruin a perfectly good piece of wood.
4.2. Using a Saw Safely and Effectively
Always wear safety glasses and follow the manufacturer’s instructions for your saw. Use a clamp to secure the wood during cutting to prevent movement and ensure clean, straight cuts.
4.3. Tips for Clean, Precise Cuts
A sharp saw blade makes all the difference. A dull blade will result in jagged, uneven cuts. Consider using a miter saw for extra precision if you’re working with a lot of wood.
5. Assembling the Shelf Supports
The supports are the backbone of your shelf system. Sturdy supports ensure the stability of your shelves.
5.1. Building Robust Shelf Supports
Depending on your design, you may need to build sturdy supports from wood. Ensure they’re securely fastened and capable of supporting the weight of your belongings.
5.2. Securing the Supports to the Closet Walls
Use a stud finder to locate wall studs for the strongest possible attachment. If attaching to drywall, use appropriate drywall anchors.
5.3. Ensuring Level and Stability
A level is crucial here. Ensure your supports are perfectly level to avoid wobbly shelves.
6. Installing the Shelves
With the supports in place, it’s time to install the shelves themselves.
6.1. Precise Placement for Optimal Functionality
Carefully position the shelves on the supports, ensuring they are level and evenly spaced.
6.2. Attaching Shelves to Supports Securely
Use screws to secure the shelves to the supports. Ensure a strong connection to prevent the shelves from sagging.
6.3. Checking for Level and Stability
Once again, double-check that everything is level and stable. Make adjustments as needed.
7. Finishing Touches and Considerations
The final touches can elevate your project from functional to beautiful.
7.1. Sanding for a Smooth Finish
Lightly sand any rough edges or imperfections for a smoother finish. This also helps prevent splinters.
7.2. Applying a Protective Finish (Optional)
Consider applying a stain or sealant to protect the wood and enhance its appearance.
7.3. Adding Extra Features (Dividers, etc.)
Custom dividers or other organizers can further enhance the functionality of your new closet system. 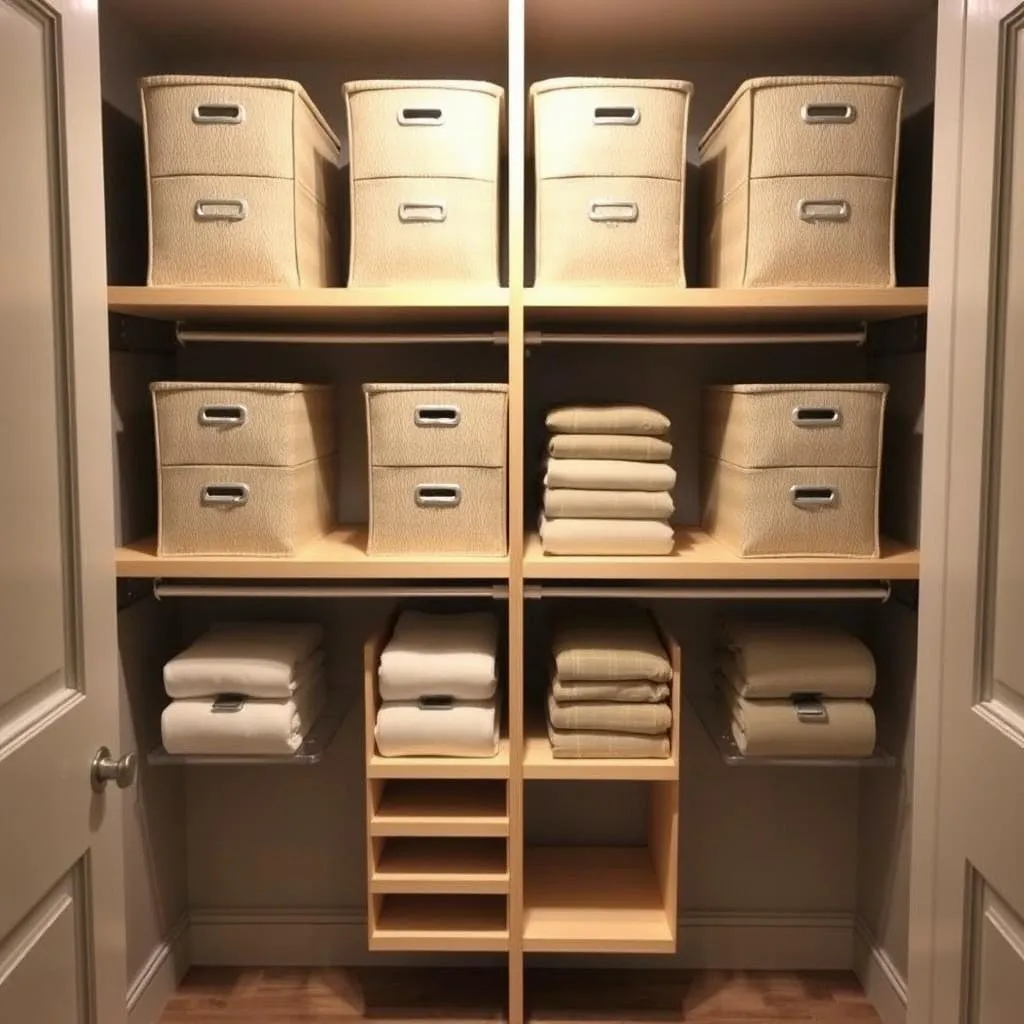
8. Troubleshooting Common Issues
Even with careful planning, you might encounter some bumps in the road.
8.1. Dealing with Uneven Walls
Uneven walls are a common problem. Use shims to level the supports and ensure even shelf placement.
8.2. Fixing Wobbly Shelves
If shelves are wobbly, check the supports and connections. Tighten screws or add additional support as needed.
9. Alternatives to Building Your Own
Building your own isn’t the only option. Let’s consider alternatives.
9.1. Pre-made Closet Systems
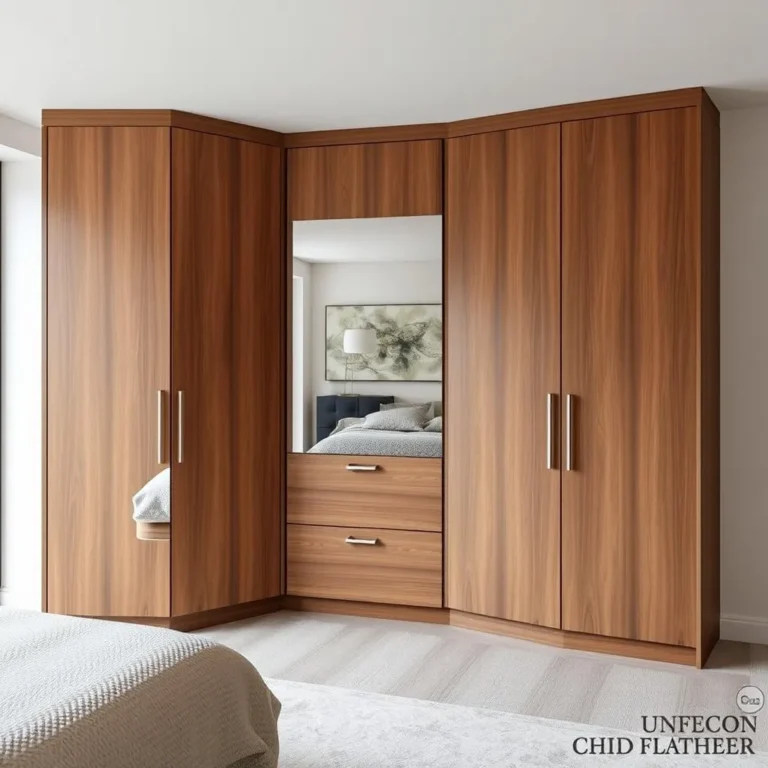
Ready-made closet systems offer convenience but can be expensive and may not perfectly fit your closet space.
9.2. Professional Closet Installation
A professional installation is the most expensive option but offers a hassle-free solution with guaranteed results.
10. Cost Comparison: DIY vs. Professional
DIY is significantly cheaper than professional installation, but factor in material and tool costs. Weigh the cost of your time and effort against the convenience of professional help.
11. Safety First: Important Reminders
Always wear safety glasses and follow safety instructions for any power tools. If unsure about any aspect of the project, seek assistance.
12. Maintaining Your New Closet Shelves
Regular dusting and occasional cleaning will keep your shelves looking and functioning their best.
13. Expanding on Your Design: Creative Options
Don’t be afraid to get creative! Add decorative elements, custom lighting, or even built-in drawers to personalize your system.
14. Beyond Storage: Utilizing Vertical Space
Maximize your vertical space with tall shelves and utilize every inch of your closet’s height.
15. Conclusion: The Rewards of DIY Closet Organization
Building your own closet shelves is a rewarding experience. It’s a chance to unleash your creativity, save money, and create a customized storage solution perfectly tailored to your needs. The sense of accomplishment you’ll feel is well worth the effort!
FAQs
Q1: What type of screws should I use for drywall? A: Use drywall anchors designed for the weight you will be supporting.
Q2: How can I prevent shelves from sagging? A: Use sturdy supports, adequately spaced, and ensure shelves are securely attached. Consider using thicker wood for heavier loads.
Q3: Can I build shelves in a closet with sloped ceilings? A: Yes, but you’ll need to adjust your measurements and shelf design to accommodate the slope.
Q4: What’s the best way to clean my new shelves? A: Dust regularly with a soft cloth. For more thorough cleaning, use a damp cloth and mild detergent.
Q5: What if I don’t have any woodworking experience? A: Start with a simple design. There are many online tutorials and guides available to help you learn the basics. Don’t be afraid to ask for help from more experienced DIYers!